
Products
All Products, both internal and external, are added from the Products section of the WordPress Dashboard.
Add New Product
- From the WordPress Dashboard, click Products > Add New
- If this product and it’s details should link to an external site, see Add External Product below. If this product is to be added to your site, continue with these instructions.
- Enter the Basic Product Details:
- Product Name: The name should be the Model + Model #/ID (if applicable). For example…
- Product Description: This is a short list of important specs related to the product. For example…

- Product Name: The name should be the Model + Model #/ID (if applicable). For example…
- Next, enter the Product Data. This includes the Brand, Product Type, Purchase Type, and Size. Scroll down to the Product Data box > Click Attributes
-
- From the dropdown, select Brand > Click Add.
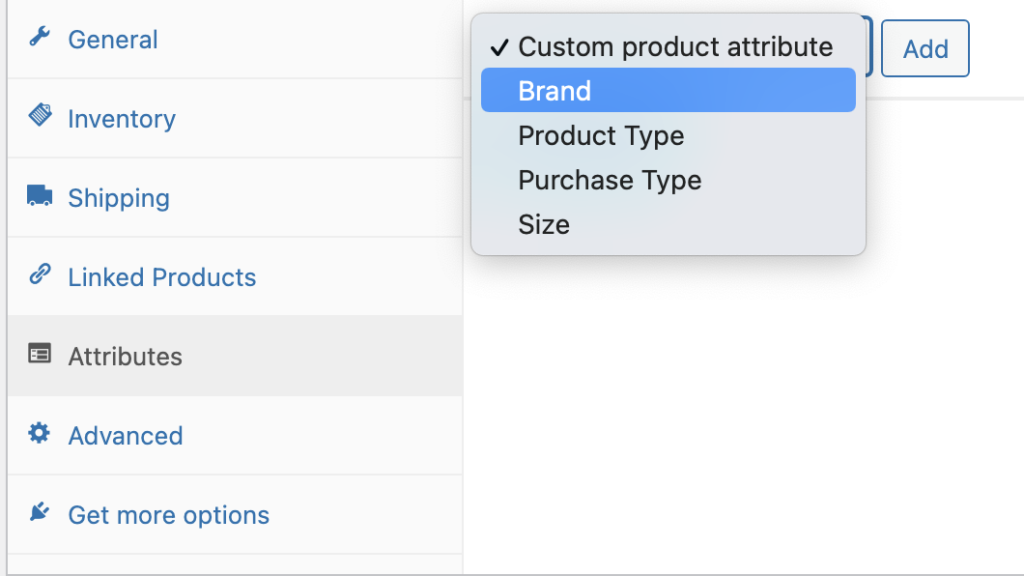
- Begin typing the name of the Brand you want to add under Values. Once you see the name, click to Add. If the Brand name does not appear, click Add New


- Repeat this process for each of the other attributes:
→ Product Type
→ Purchase Type
→ Size - Once all the attributes have been added, click Save Attributes
- From the dropdown, select Brand > Click Add.
-
- Next, select the Product Category. From the right-side menu, navigate to Product Categories section and check the correct category. *Only one should be selected.
- Next, add the Product Image. From the right-side menu, navigate to the Product Image section and click “Set Product Image”.
- To save your product, click Publish
Add External Product
- From the WordPress Dashboard, click Products > Add New
- Enter the Basic Product Details:
- Product Name: The name should be the Model + Model #/ID (if applicable). For example…
- Product Name: The name should be the Model + Model #/ID (if applicable). For example…
- Next, identify this product as an “external” product. Scroll to the Product Data section > from the dropdown, select External/Affiliate Product
- Under the General Tab: Enter the Product URL

- Under the General Tab: Enter the Product URL
- Next, enter the Product Data. This includes the Brand, Product Type, Purchase Type, and Size. Scroll down to the Product Data box > Click Attributes
-
- From the dropdown, select Brand > Click Add.
- Begin typing the name of the Brand you want to add under Values. Once you see the name, click to Add. If the Brand name does not appear, click Add New
- Repeat this process for each of the other attributes:
→ Product Type
→ Purchase Type
→ Size - Once all the attributes have been added, click Save Attributes
- From the dropdown, select Brand > Click Add.
-
- Next, select the Product Category. From the right-side menu, navigate to Product Categories section and check the correct category. *Only one should be selected.
- Next, add the Product Image. From the right-side menu, navigate to the Product Image section and click “Set Product Image”.
- To save your product, click Publish
Edit Product
- From the WordPress Dashboard, click Products
- Select the product you wish to edit
- From the product details, you can update the:
- Product Title
- Product Description (not applicable for external products)
- Product Data (including Brand, Product Type, Purchase Type, and Size)
- Product Category
- Product Image
- Once you’ve made all changes, click Update to save.
Delete Product
- From the WordPress Dashboard, click Products
- Hover over the product you wish to remove
- Click Trash to delete